

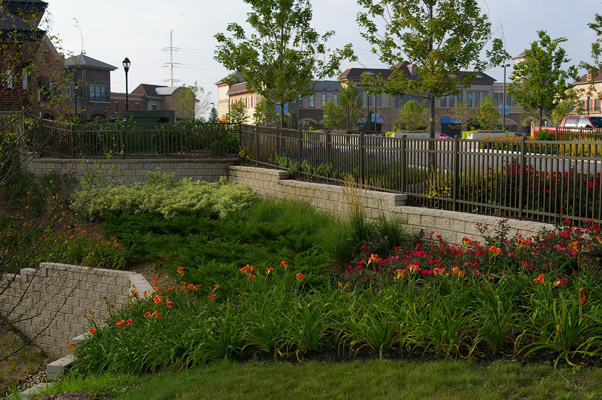
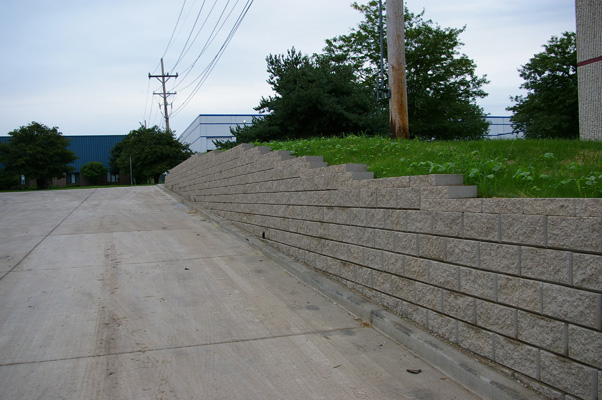
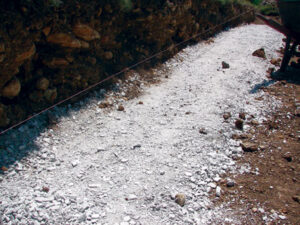
 Excavate the base trench to the lines and grades indicated on the approved plans. The trench should be a minimum of 24” wide and 12” deep. The aggregate leveling pad is made of good quality compactable gravel such as road base or 3/4” crushed stone. The stone leveling pad should be a minimum of 6” thick and compacted to 95% Standard Proctor or higher.
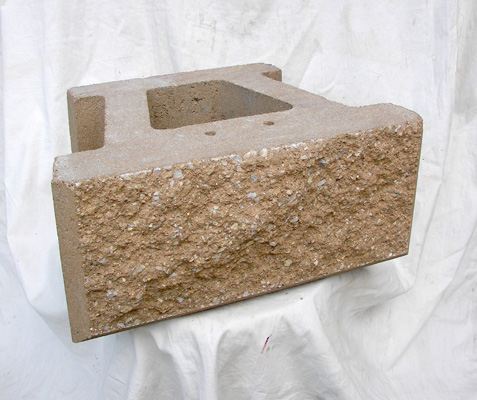
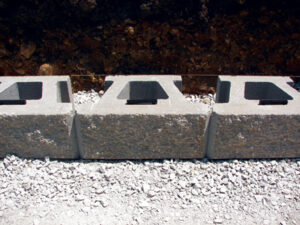
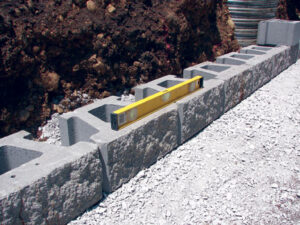 Begin placing the first course of Pinnacle units, starting at the lowest elevation of the wall. The Pinnacle units should be placed end to end with the channel of the unit facing down. Level each base block front to back and side to side. Make sure the first course of Pinnacle units are imbedded a minimum of 6” below finished grade in front of the wall.
 Place the Pinnacle PAC clip into the holes of the Pinnacle unit. The PAC clip will provide the automatic setback for additional courses of Pinnacle units.
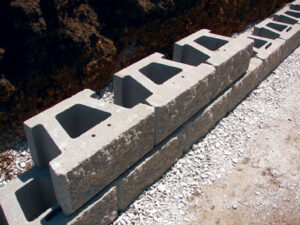 After PAC clips have been installed, place the unit / drainage fill in the cores of the Pinnacle unit and a minimum of 12” behind the units. Place backfill soils in 6-8” loose lifts and compact to 95% Standard Proctor or greater. Do not use heavy compaction equipment within 3’ of the face of the wall.
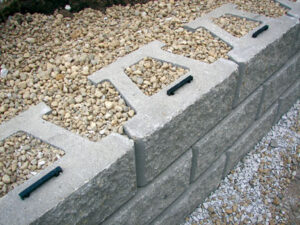 Sweep the tops of the Pinnacle course below to remove any stone or debris. Place the next course of units, fitting the PAC clips into the channel of the unit above. Make certain the units are installed in a running bond pattern. Pull the Pinnacle units toward the wall face until the unit engages the PAC clips. Continue installing backfill and additional courses to plan top of wall.
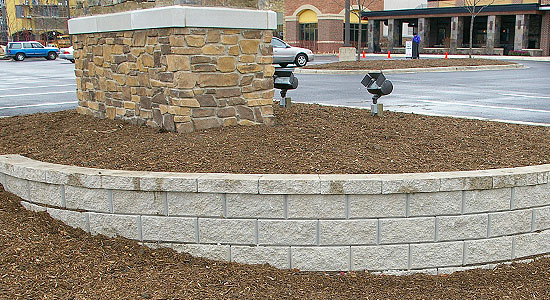
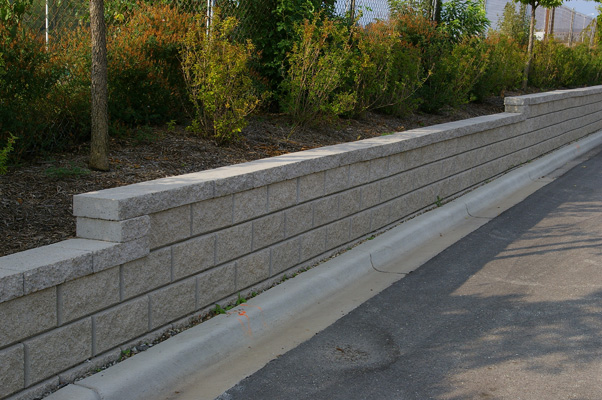
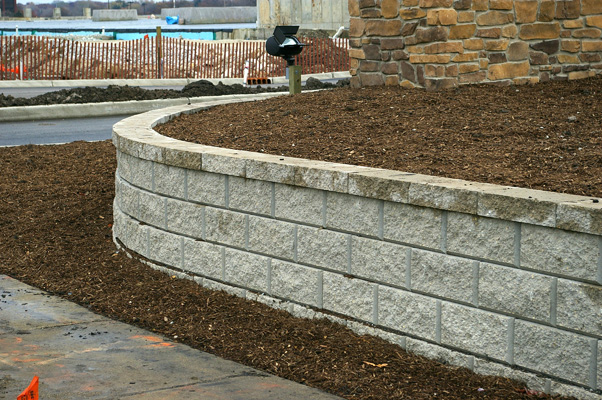
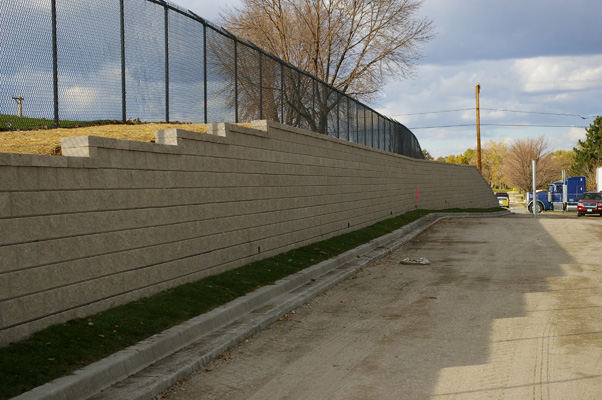
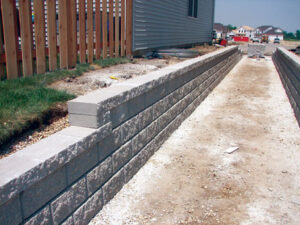 The final step is capping the Pinnacle wall. Clean the top course of Pinnacle units well. Caps should be dry and clean prior to placement. Use a construction adhesive to attach cap units to wall. Place caps with a 1” overhang. Note that PAC clips are not required in the top course of units.